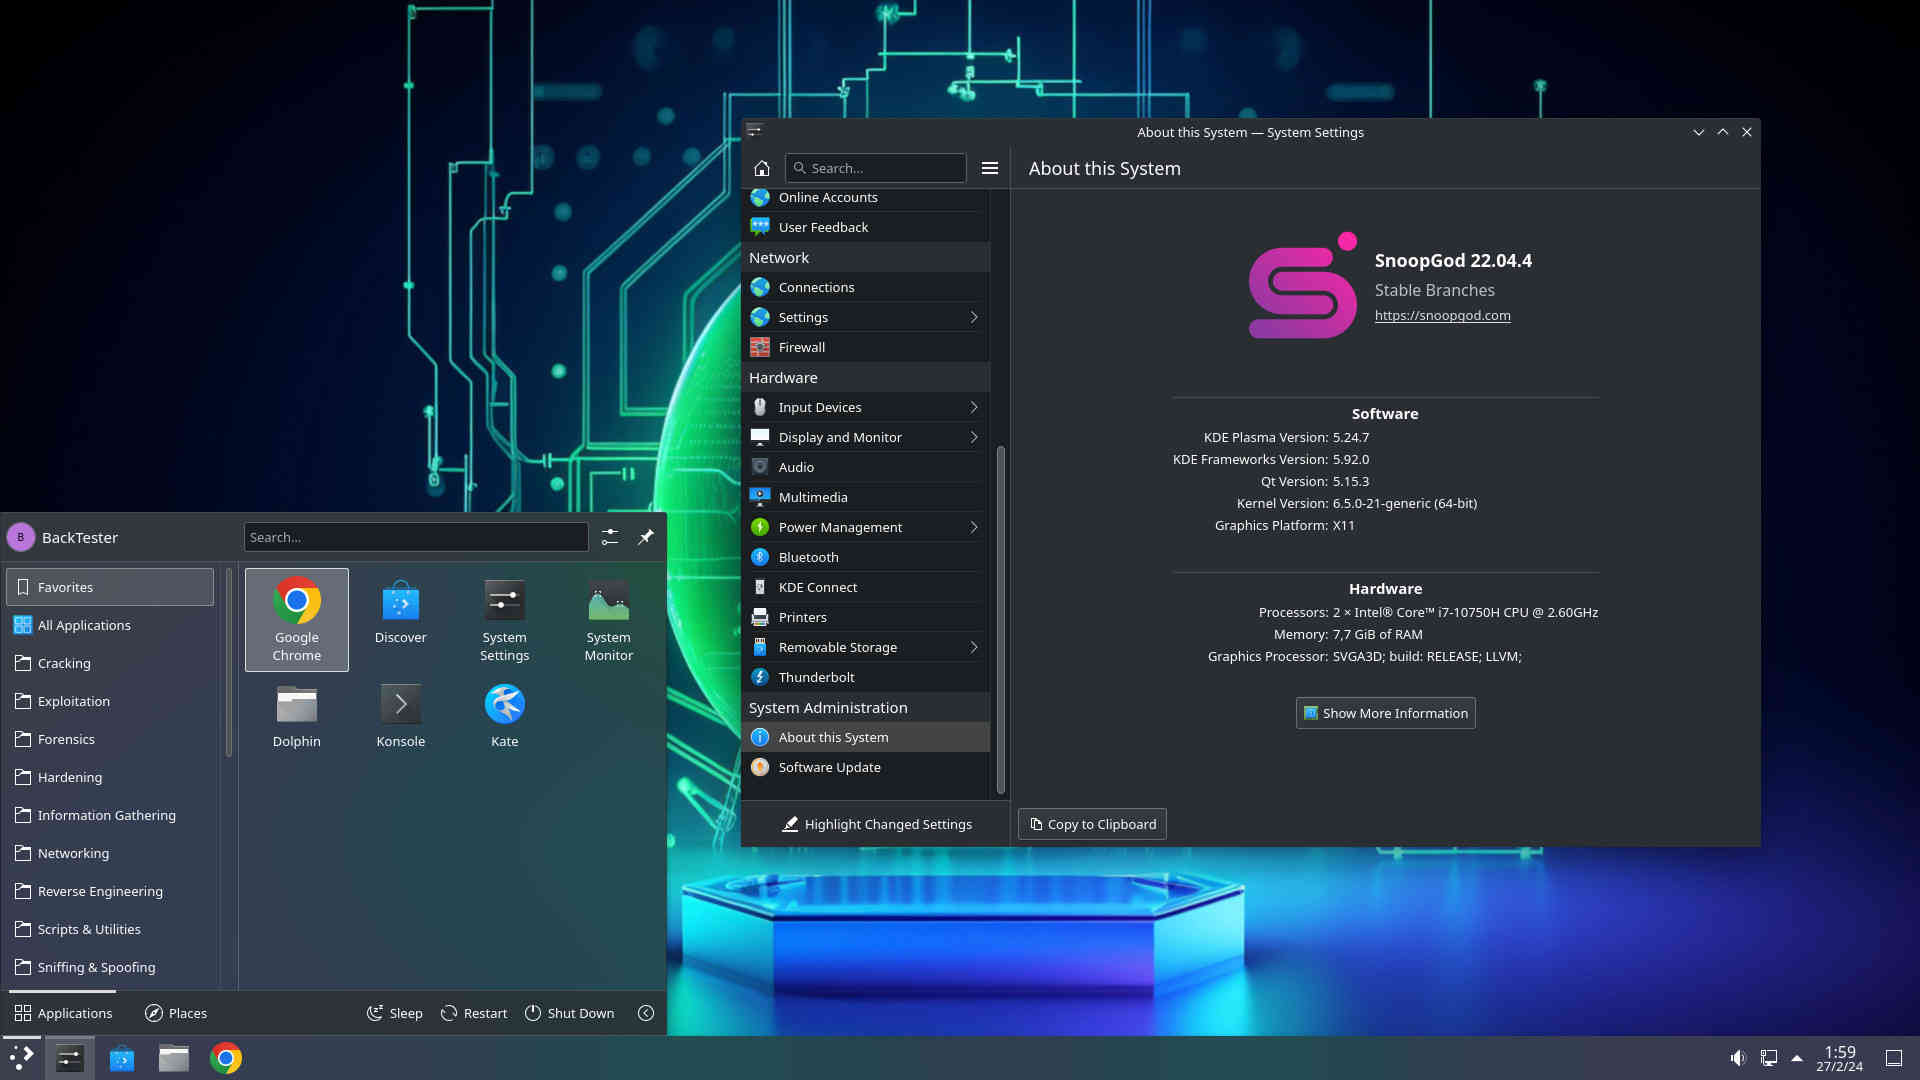
Security Driven
SnoopGod is a security-oriented operating system based on Ubuntu. It comes with over 800 pre-installed and pre-configured tools and libraries, ready for penetration testing.
Performance
Designed with the aim of achieving the maximum performance and minimum consumption of resources. This makes SnoopGod fast and friendly environment.
Customization
System optimized to be secure and flexible. The packaging process, configuration and tweaking of SnoopGod is based on the Ubuntu/Debian standards.
Featured Projects
SnoopGod is more than an operating system, it is a Free Open Source Community Project with the aim of promoting the culture of security in IT environment and give its contribution to make it better and safer.

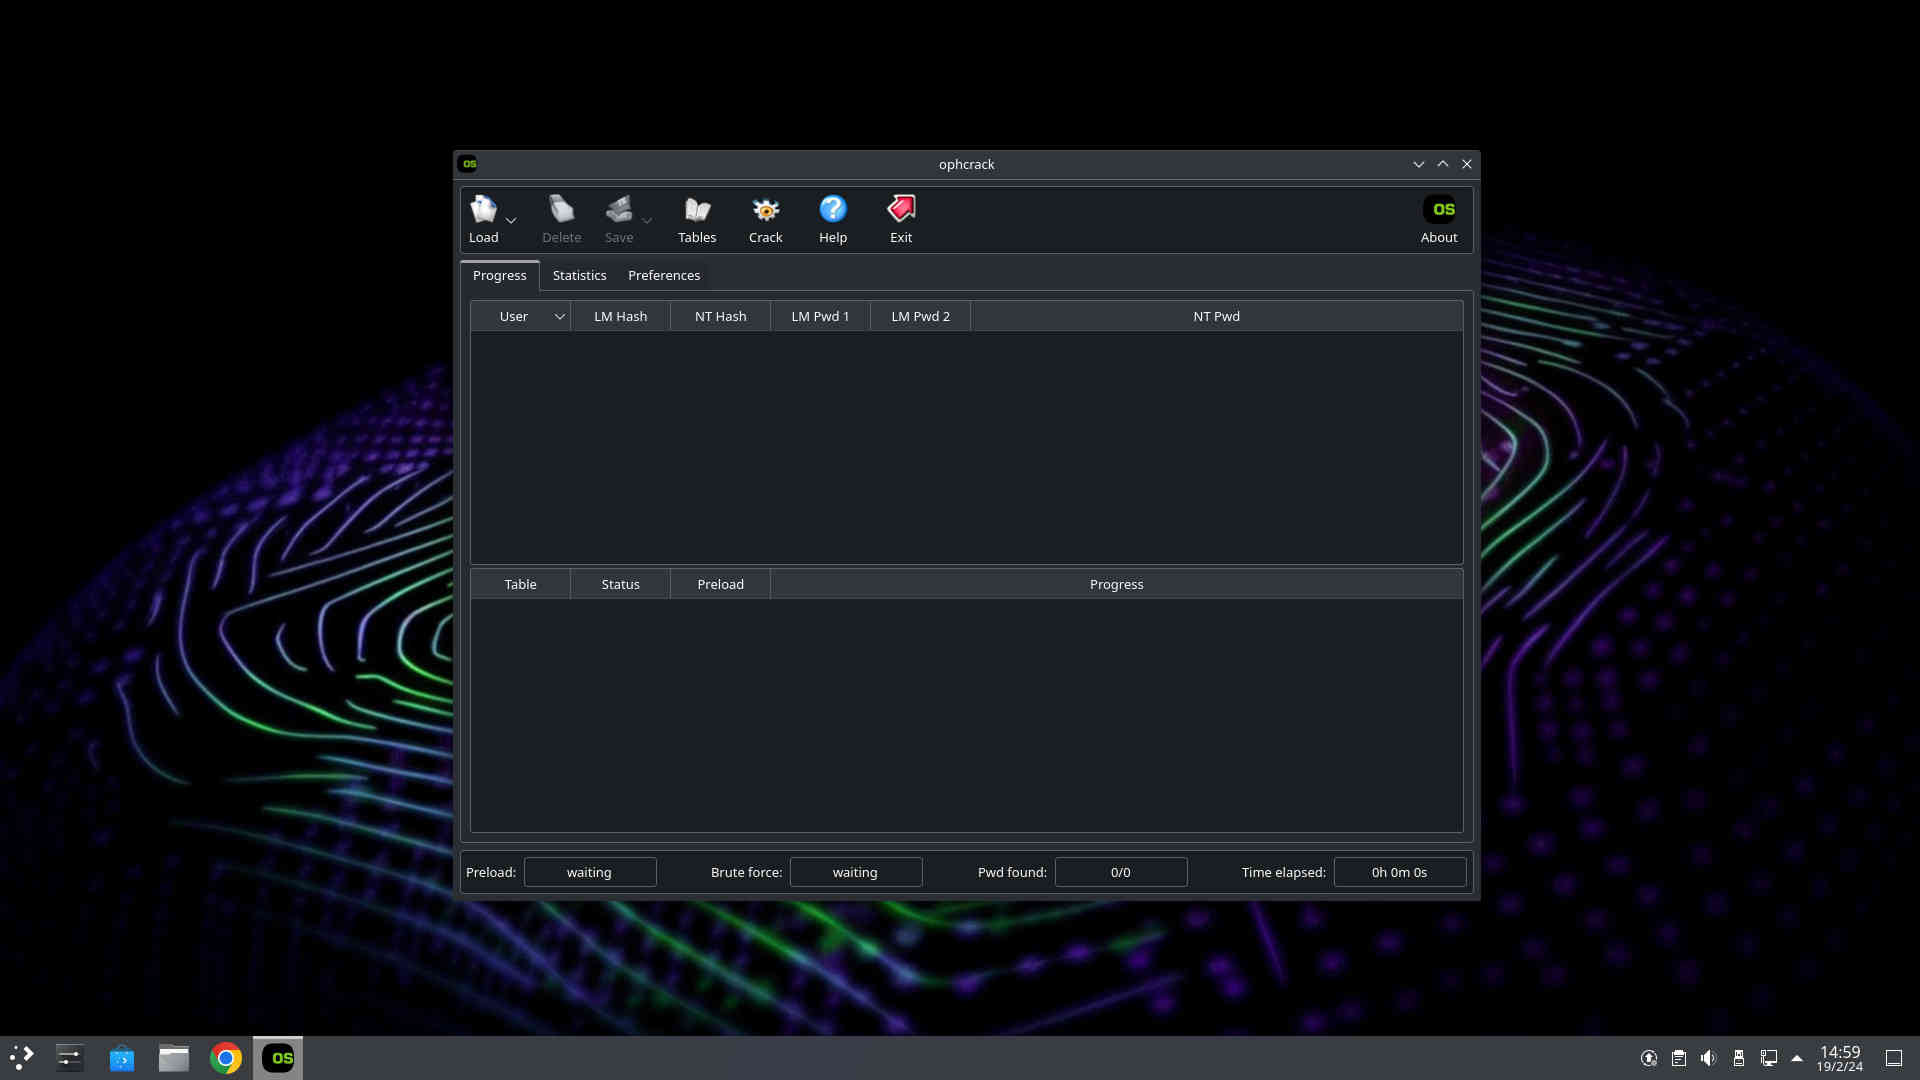
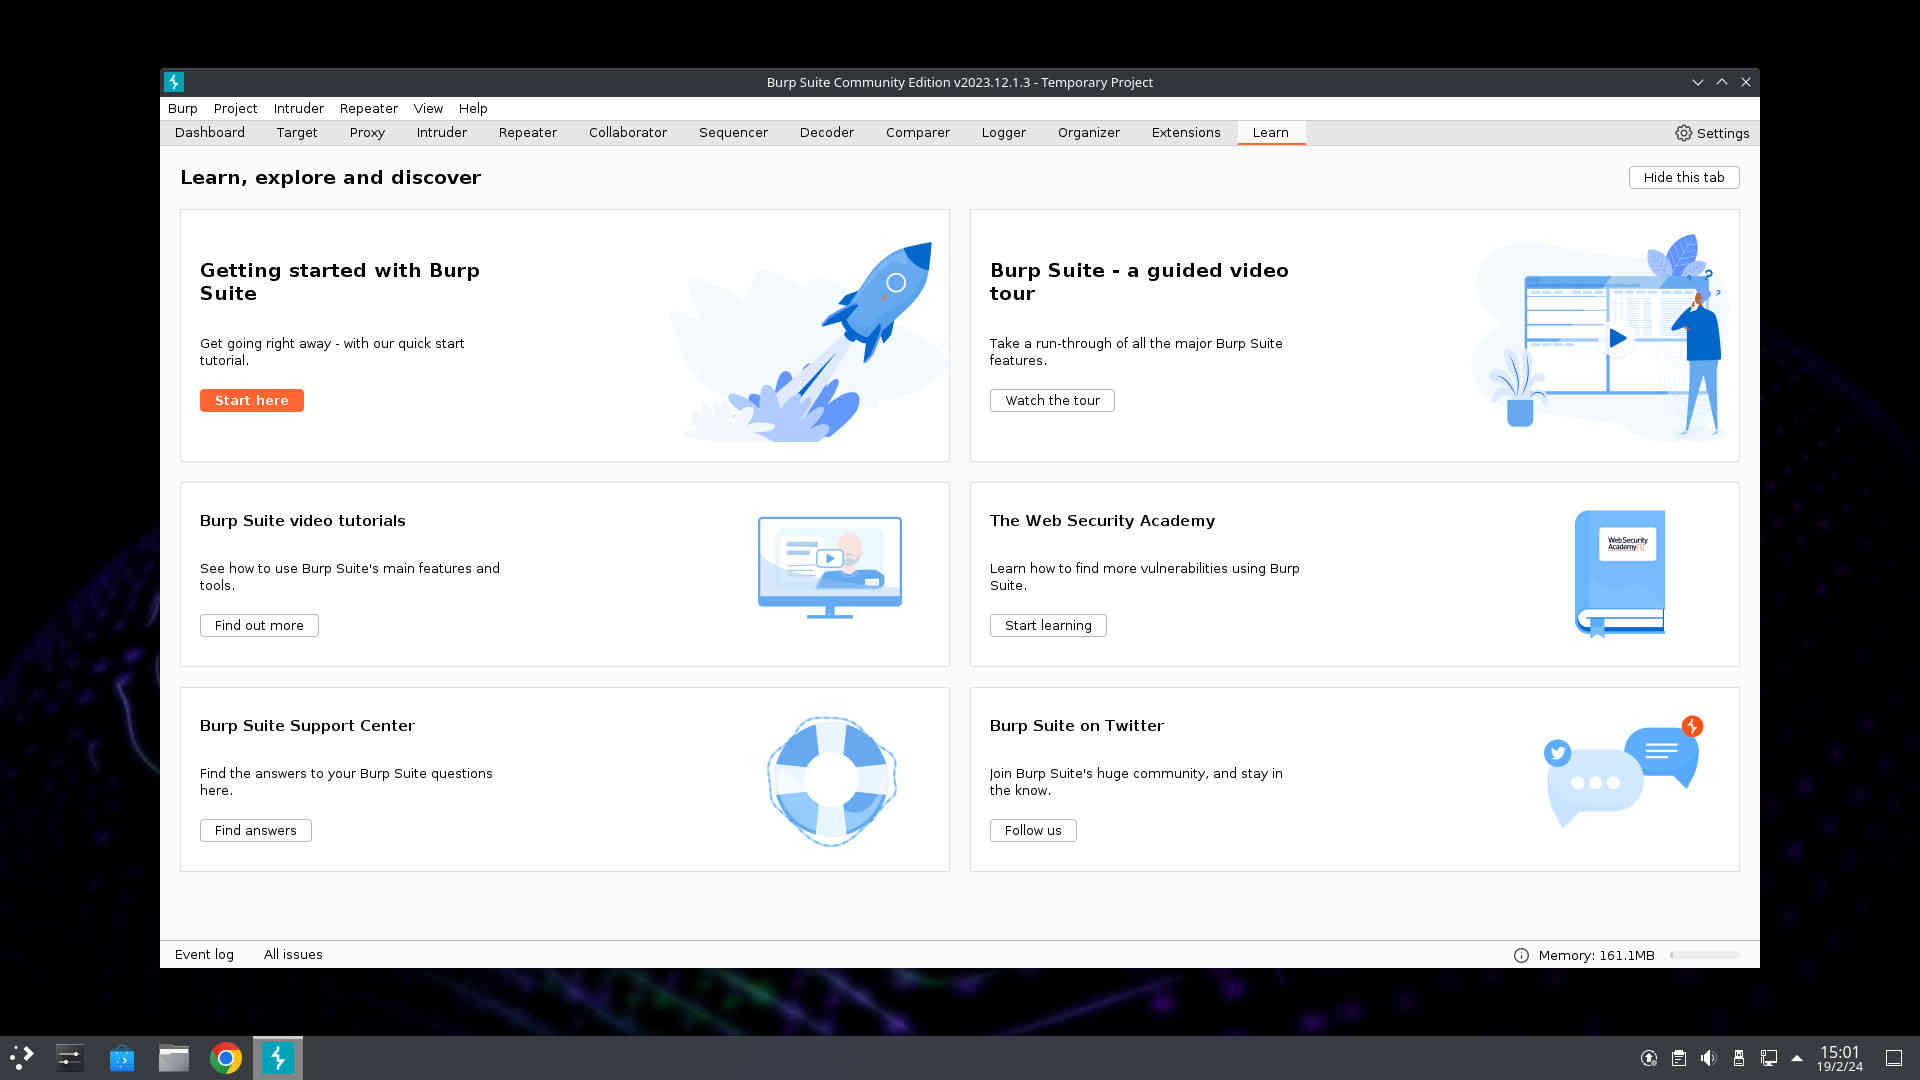


Tools for Every Situation
SnoopGod includes more than 800 pre-installed libraries and tools. For the updated list of tools you may check the repository at Github.

Aircrack

Apktool

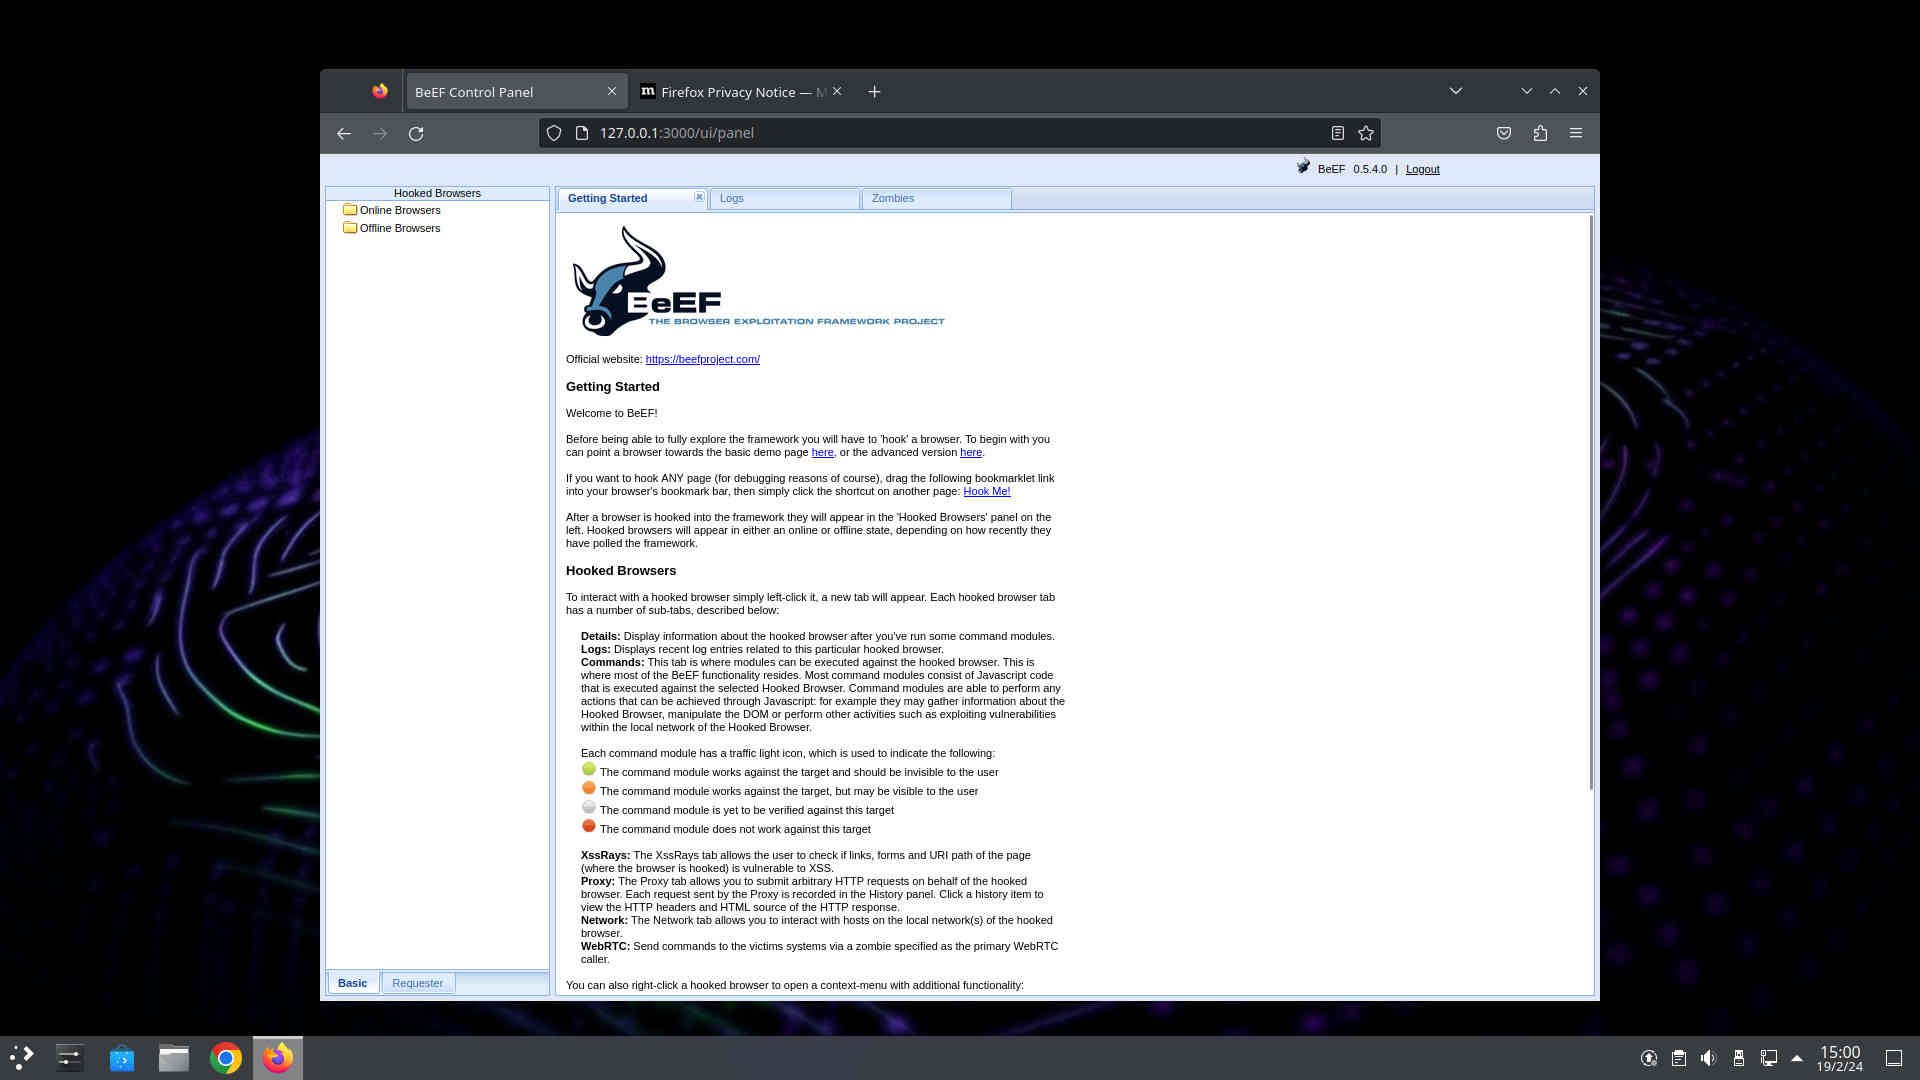
BeEF XSS

Bettercap

Ettercap

GTK Hash

Guymager

Hydra

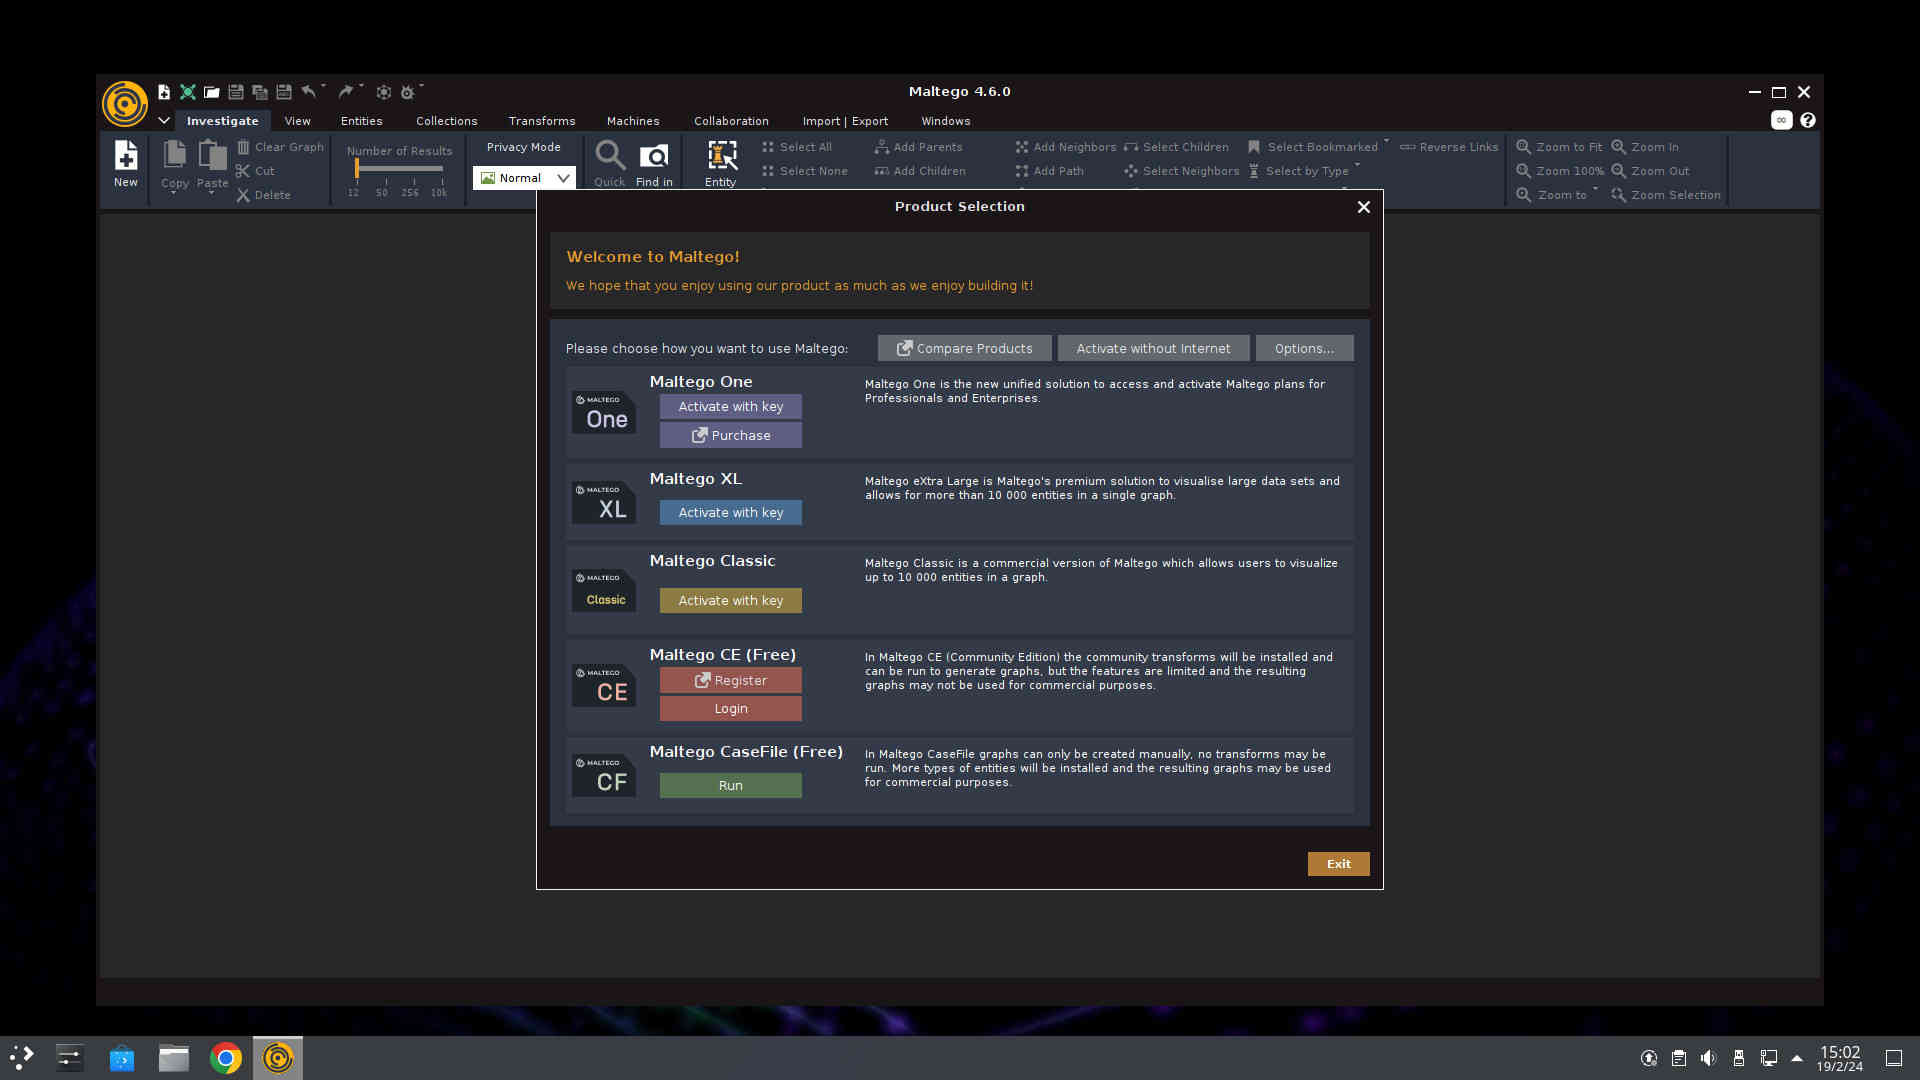
Maltego

Metasploit

Nmap

Tor Browser

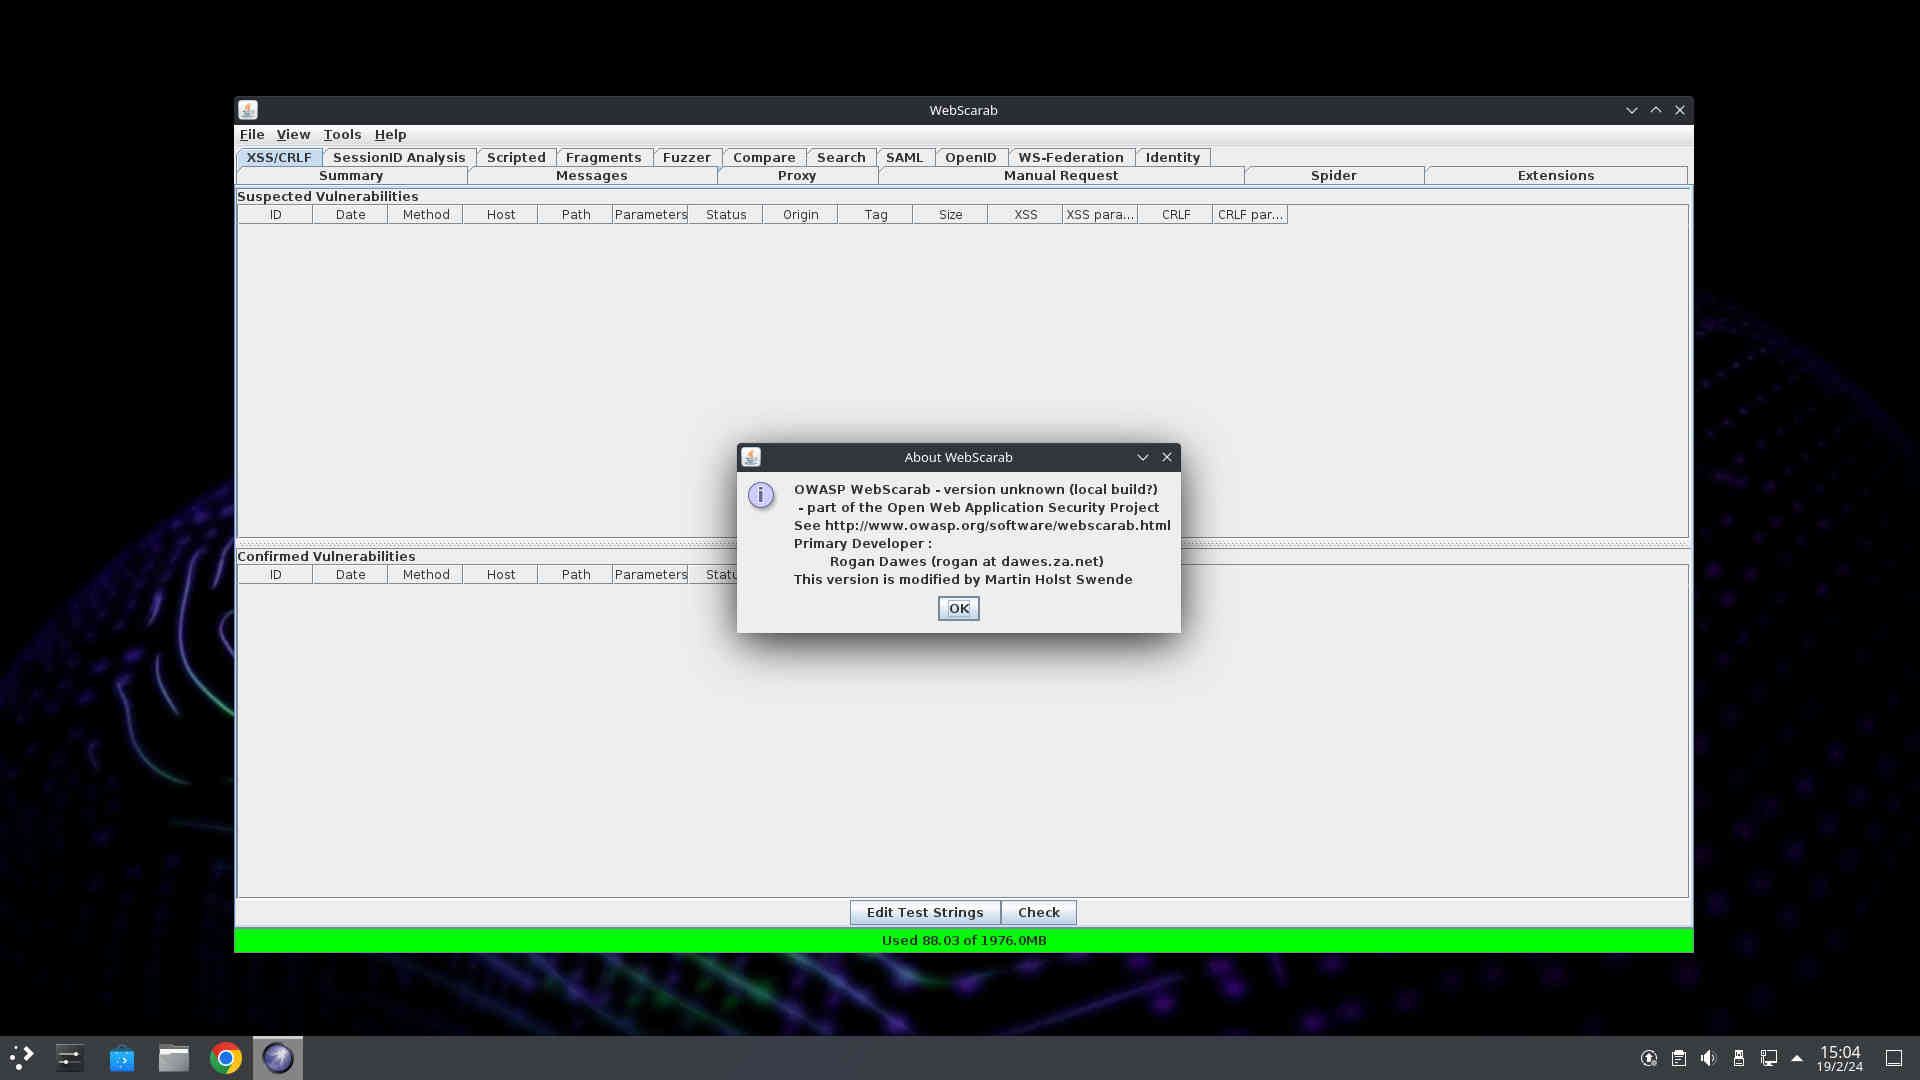
Webscarab

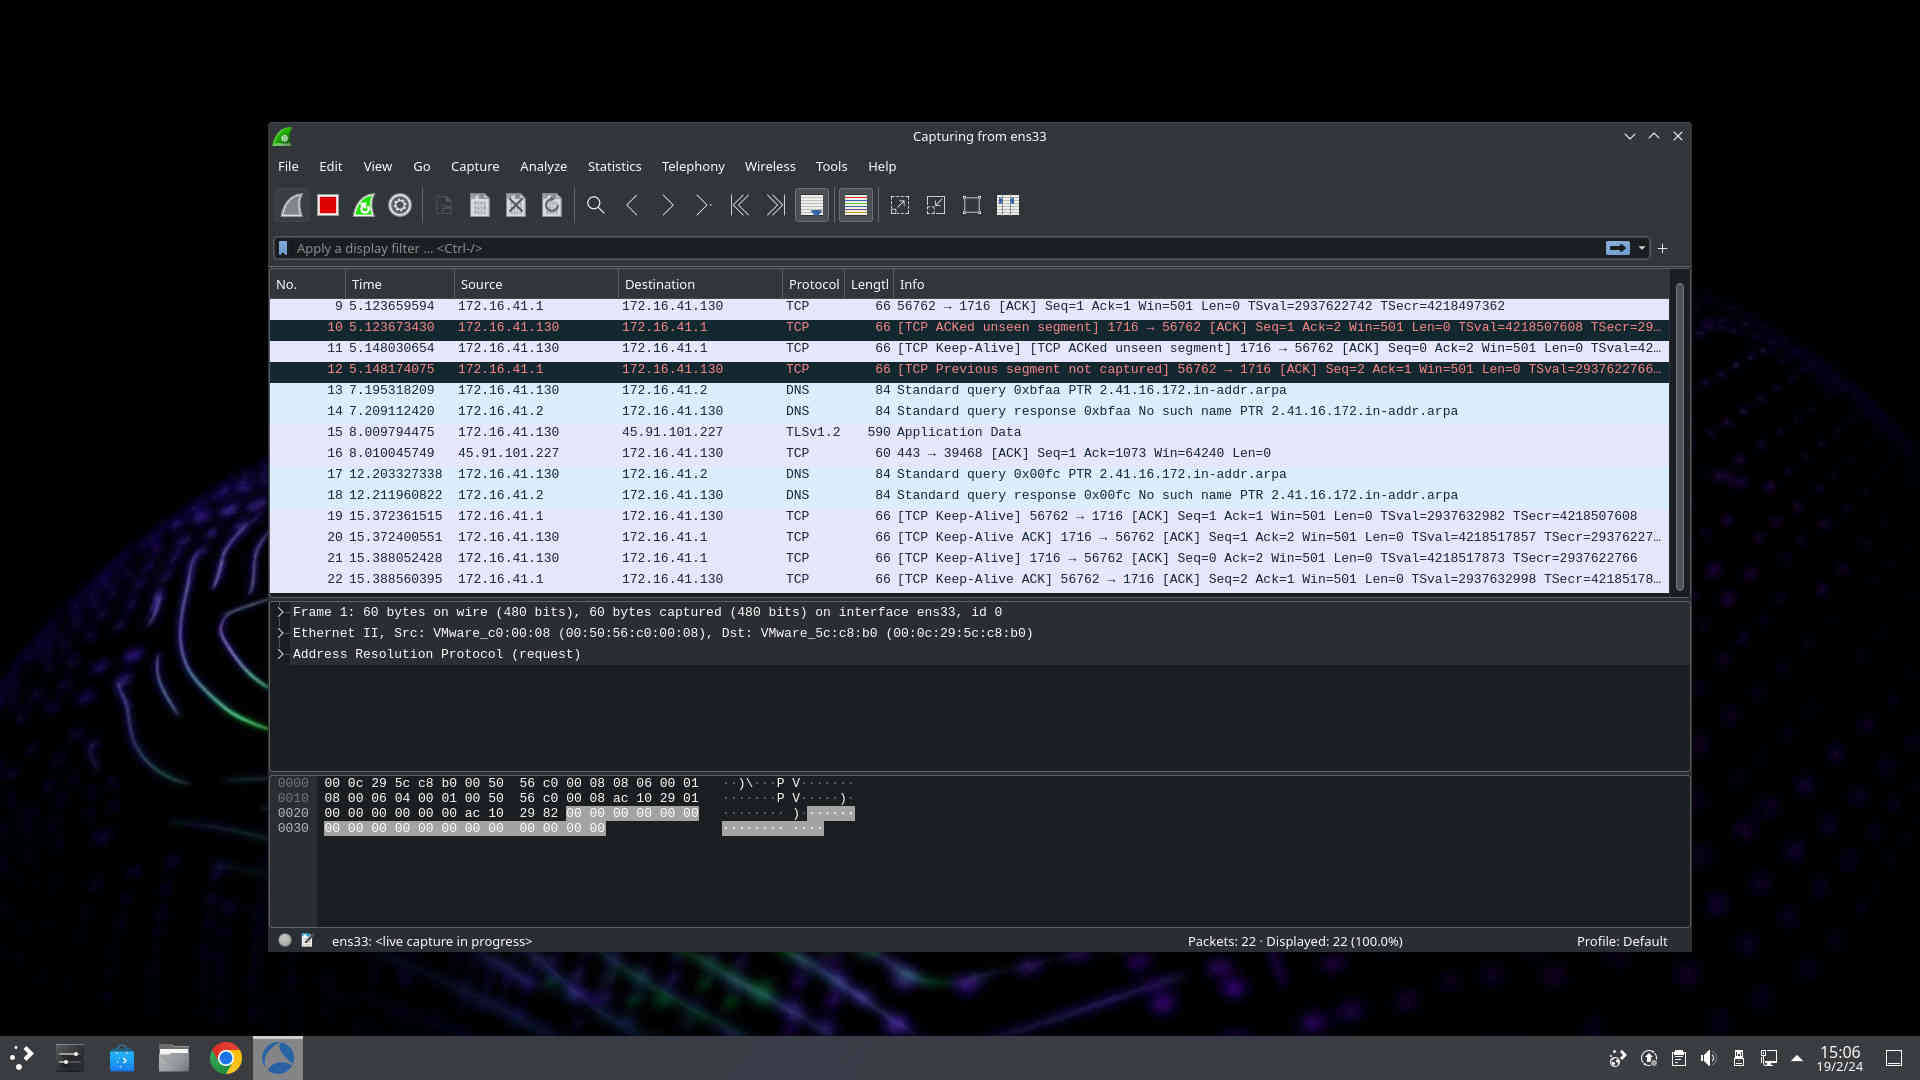
Wireshark

WPscan

Zaproxy
Cook with love using
The latest technology
SnoopGod is built on the latest technologies in the industry, ensuring that users have access to the most advanced, cutting edge systems. This provides all users access to the best possible tools for cybersecurity.


